
Welcome to our May Challenge.
Sadly we are losing Sue Scrumplescrunch from the team after this month's challenge, so I am running a mini DT call. If you think you might like to join us here either add DT after your linky name, or drop me a line at the address in the sidebar.
Thanks for all your hard work Sue!!!
Sadly we are losing Sue Scrumplescrunch from the team after this month's challenge, so I am running a mini DT call. If you think you might like to join us here either add DT after your linky name, or drop me a line at the address in the sidebar.
Thanks for all your hard work Sue!!!
Our theme for the month is a Triptych.
A triptych is a work of art that is divided into three sections, or three carved panels that are hinged together and can be folded shut or displayed open.
Our host is Rita Marie, and she will be choosing our Winner and Top 5.
Instead of a physical prize this month we would like to offer our Winner a Guest Designer spot for a future challenge.
We hope our fabulous Design Team can inspire you. Please pop by their blogs and show them your appreciation
Rita Marie


This Triptych was so much fun to do! I have never tried this before and I just had a blast. This one is made from a little cardboard pieces I had purchased online years ago and never used them until Lin suggested this project for May. I'm so happy I got a chance to make one. Now I have collaged on this and painted and used lots of yummy stuff. I will have a video for this one too. Thank you! xo
Elaine aka Ellapu
Back
 Front
Front
 Wooden Tripych altered using napkins for the back and stencils/modelling paste for the front
Claudia
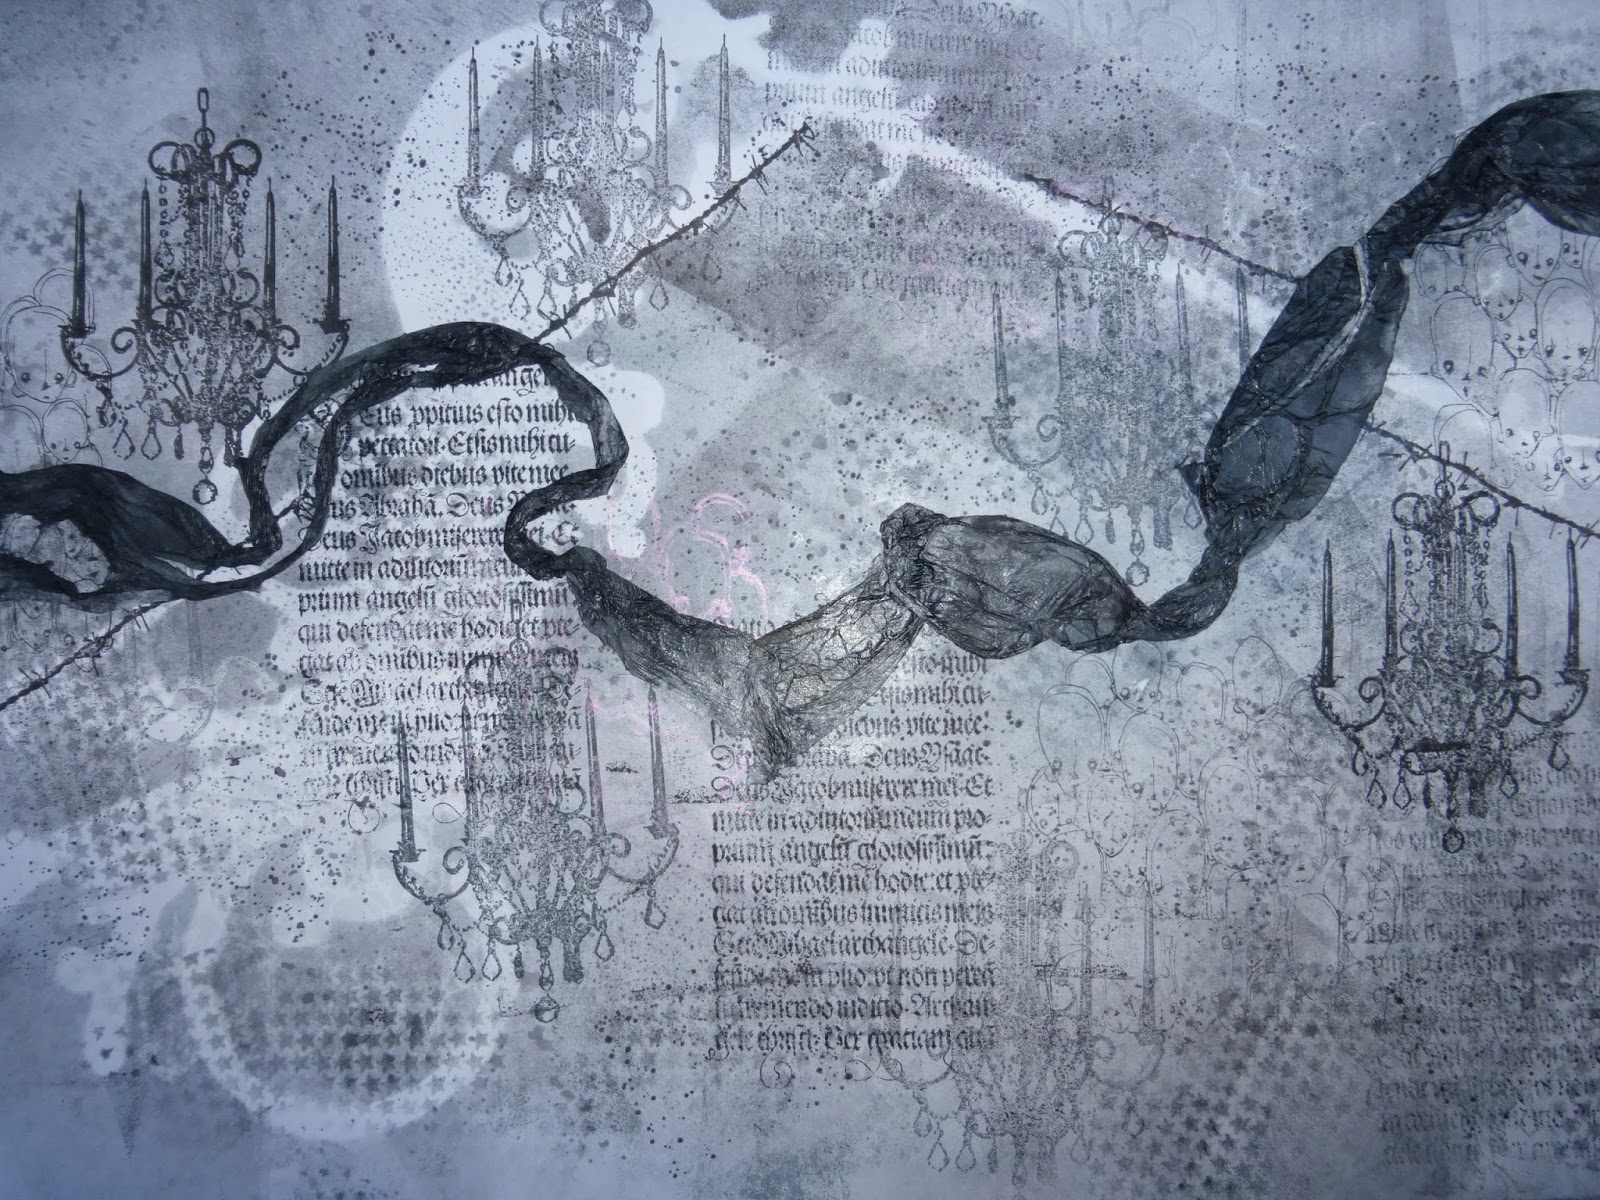
 "Because he loved her he let her crack open his shell and push his most sensitive buttons."
For my triptych I used corrugated card, white Gesso, crackle media, metallic paints and guilding wax, alcohol inks on acetate, acrylic paints and found objects.
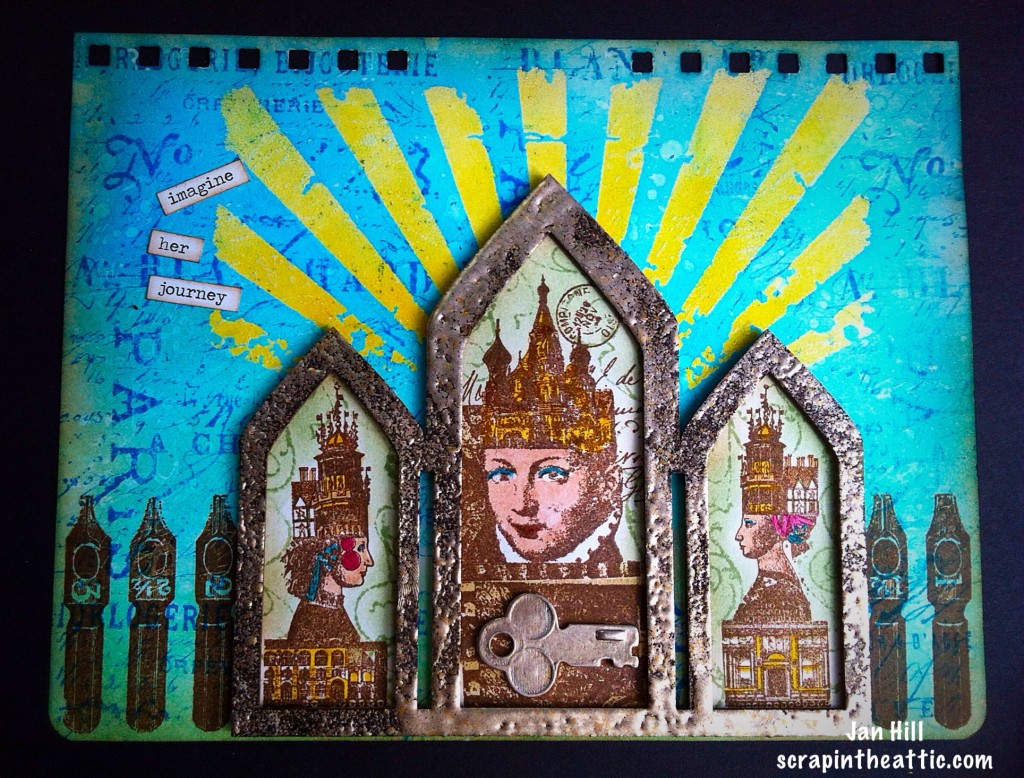
Jan
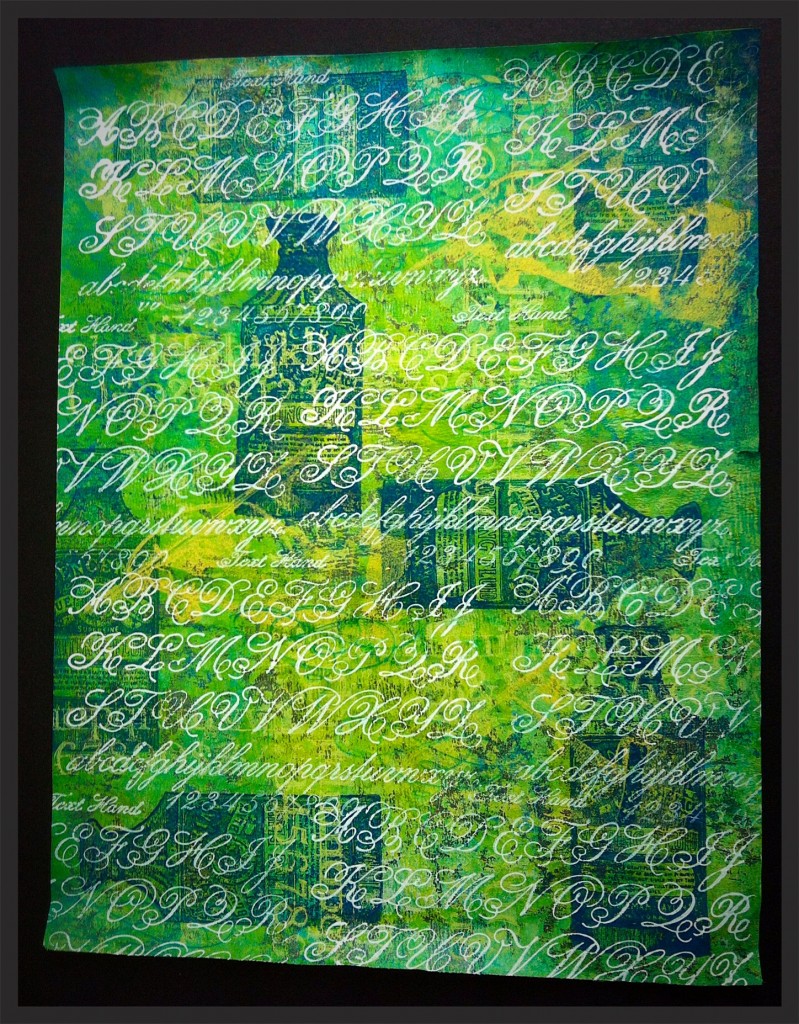
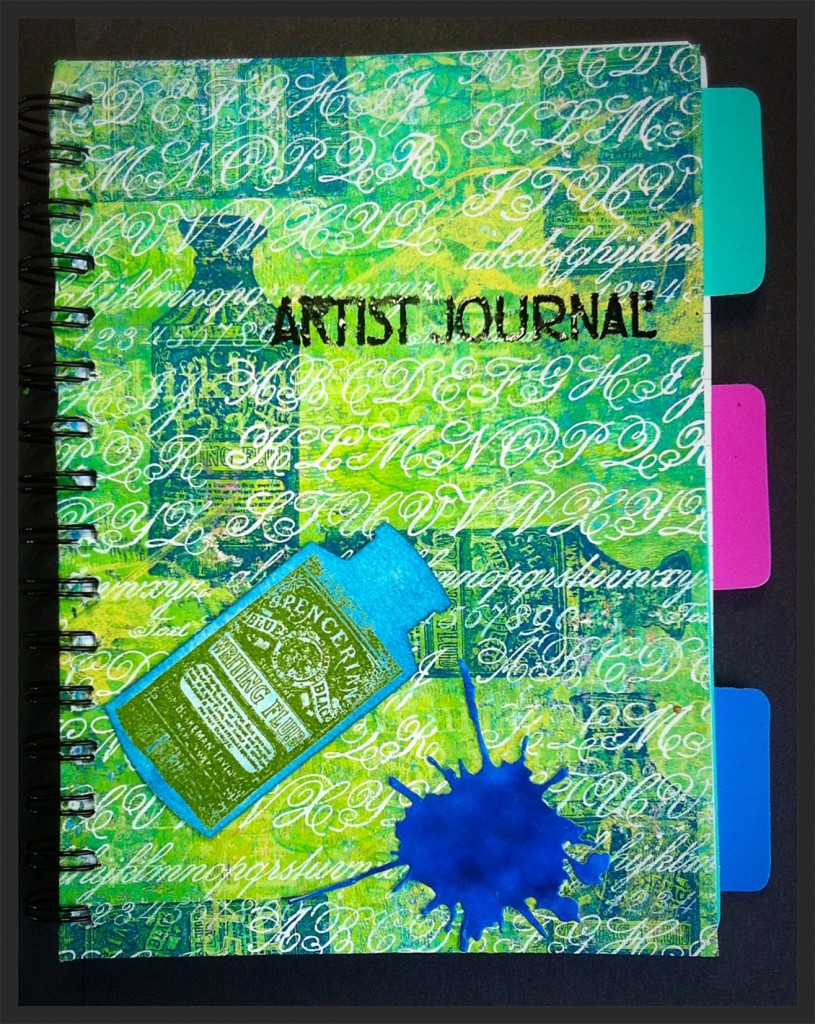
 I decided to create a journal page with my triptych, it was inspired by the eclipse of the sun on March 20th. I used Distress Inks, stencils, Tim Holtz and Lyn Perrella stamps and embossing powders.
Lula
 For my triptych I altered 3 boxes using tissue stamping, acrylic paints and alcohol inks along with stenciling and masking.
Sue-scrumplescrunch.
 Three little quirky houses for my triptych, media includes a canvas, painted fabric, Inks, tissue, corrugated cardboard, trims and metal embellishments. There is a step by step on my Blog.
Kerstin

Bon Voyage
When I grow up, I discover the world!
A little triptychon from chipboards with faux rustic, embossing and metalic effects.
Lin

I used a Dutch Doobadoo MDF Triptych for my project, which I coloured with Gelatos, adding some texture paste and my images from Vera Lane Studio. More details are on my blog
Angela @ Felix the Crafty Cat
 For my Triptych I used a Wooden Triple Icon which was stenciled using Grunge Paste and Ferro then
painted using chalk paints, including a crackle effect. Next I stamped it using a Paper Artsy stamp set by JOFY and finished it using Treasure Gold. If you would like more details please go to my BLOG.
Jolanda


Back
Claudia
For my triptych I used corrugated card, white Gesso, crackle media, metallic paints and guilding wax, alcohol inks on acetate, acrylic paints and found objects.
Jan
Lula
Sue-scrumplescrunch.
Kerstin
Bon Voyage
When I grow up, I discover the world!
A little triptychon from chipboards with faux rustic, embossing and metalic effects.
Lin

I used a Dutch Doobadoo MDF Triptych for my project, which I coloured with Gelatos, adding some texture paste and my images from Vera Lane Studio. More details are on my blog
Angela @ Felix the Crafty Cat
painted using chalk paints, including a crackle effect. Next I stamped it using a Paper Artsy stamp set by JOFY and finished it using Treasure Gold. If you would like more details please go to my BLOG.
Jolanda
I made this triptych out of hardboard. Painted with Inka Gold.
You can find more details & photo's on my blog!
I have used a piece of card from a packing box, and three pieces of mountboard to create my Triptych with acrylic paint, textutre paste and die cuts.

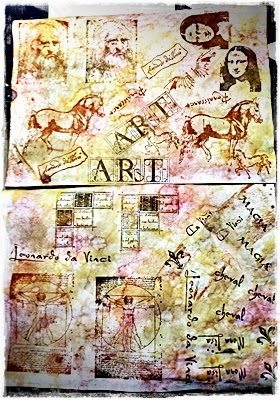
I totally enjoyed working on these three piece mixed media. I've created background with embossed paper, Wendy Vecchi embossing powder, stamping and watercolors. And girl's pictures are from free vintage images from Pinterest. Come over to my blog Neon Diary for individual piece photos and more information.


