Welcome to our April Challenge.
Our theme for this month is to create and use a Masterboard. A masterboard is a large background piece designed to be cut up and used in smaller projects, such as journals, postcards, cards, ATC's etc. It can be created with any combination of collage, paint, inks, sprays, rubber stamps, stencils.
Our host is Angela, and she will be choosing our Winner and Top 5.
We are thrilled to be sponsored by
With a prize of £12.00 to spend at your favourite Woodware Stockist, either in store or on line.

Woodware are a Yorkshire based family owned business, as well as distributing Dreamweaver Stencils and Stampendous Stamps we have a wonderful range of stamps designed for us by Francoise Read and Jane Gill. We also scour the world for new and innovative products for the crafty card maker, and have a great range of punches and tools of the trade, to find stockists in your area or to see the range visit the website www.woodware.co.uk.
Our design team are playing along with the challenge so check out our blog, which is there for inspiration at www.woodware.co.uk/blog.
Now over to the team for inspiration.
Hi everyone Angela here and pleased to be hosting the Masterboard challenge.
I absolutely love making these and am looking forward to seeing what you all come up with but please remember that for this challenge we do not accept greeting cards but you can use your Masterboard to make anything else that takes your fancy.
So lets get started!
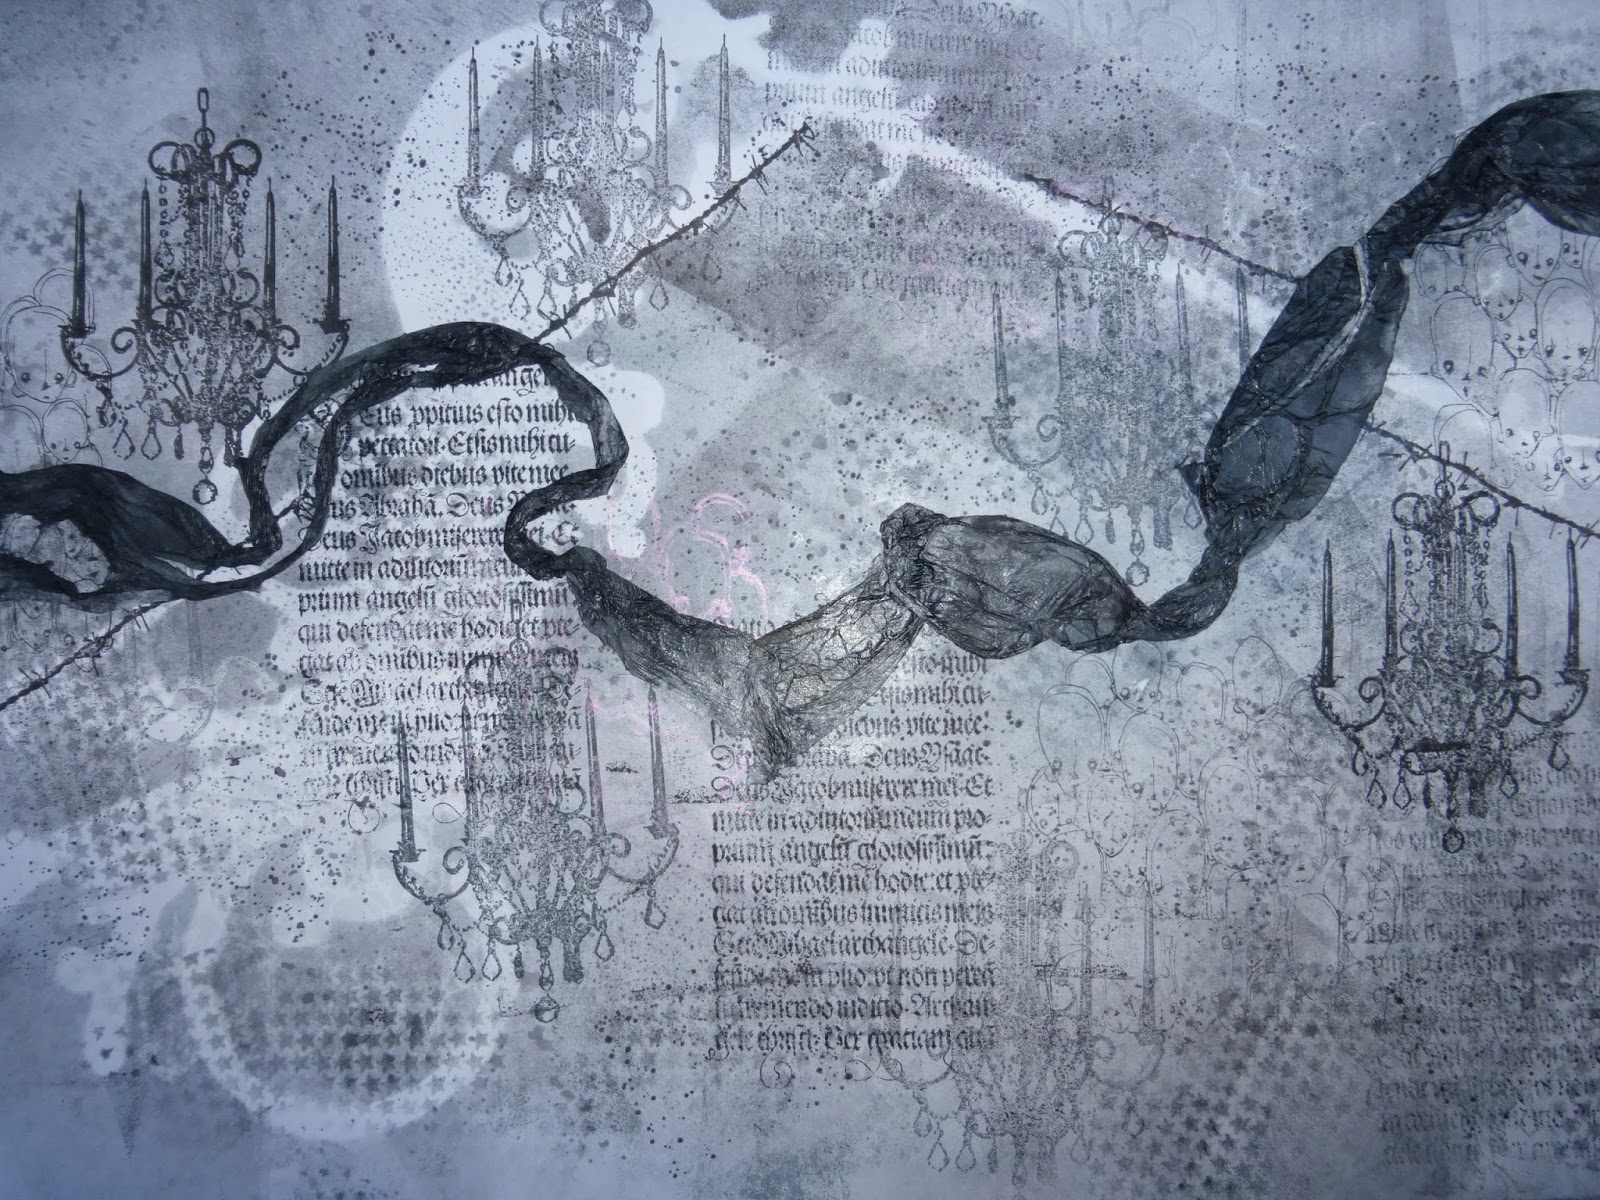
I made this Masterboard using a variety of stamps, masks and stencils
Elaine aka Ellapu
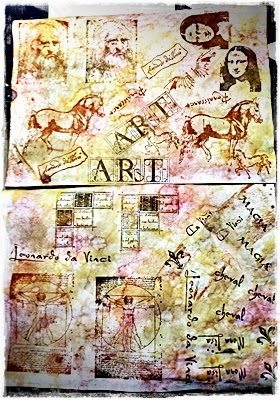
Da Vinci Masterboard
Pen pot and drawing pin basket
Claudia
I created a masterboard from a left over Gelli plate print on which I stamped a lovely crow pattern in black archival ink and then sprinkled some Mister paints
I altered an emptied chocolate box with it. The bright orange was already there and fit perfectly. B&W Washi tape was added for further embellishment.
Jan
I created a Masterboard using opaque and translucent paints which I brayered onto wax tissue paper to add layers and depth. Then I stamped over the top also using paints. Die cuts and an embossed title finished it off.
I used the imitation technology ' Abklatschtechnik' for my masterboard
with wallpaper glue and acrylic paints.
It was a perfect background for my favourite saying in a simple
picture frame.
Now over to the team for inspiration.
Hi everyone Angela here and pleased to be hosting the Masterboard challenge.
I absolutely love making these and am looking forward to seeing what you all come up with but please remember that for this challenge we do not accept greeting cards but you can use your Masterboard to make anything else that takes your fancy.
So lets get started!

I made this Masterboard using a variety of stamps, masks and stencils
And used it to decorate a Mini Wallet book
If you would like to see the inside and instructions for making, please visit my blog
Elaine aka Ellapu


Da Vinci Masterboard
Pen pot and drawing pin basket
Claudia
I created a masterboard from a left over Gelli plate print on which I stamped a lovely crow pattern in black archival ink and then sprinkled some Mister paints
I altered an emptied chocolate box with it. The bright orange was already there and fit perfectly. B&W Washi tape was added for further embellishment.
Jan
I created a Masterboard using opaque and translucent paints which I brayered onto wax tissue paper to add layers and depth. Then I stamped over the top also using paints. Die cuts and an embossed title finished it off.
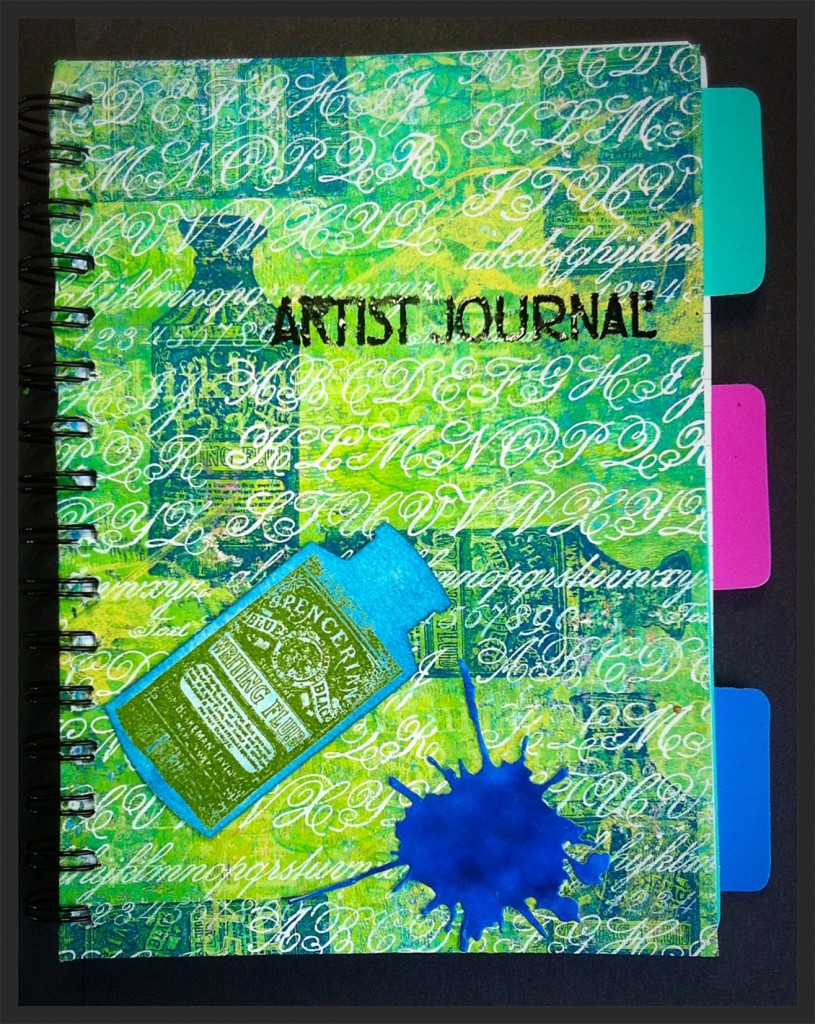
I used the paper to cover a cheap notebook.
My Masterboard; using Fresco paints and stamps
I made Coasters.
Step by step over on my Blog.
I made the masterboard using acrylic paints along with stencils and stamps.
I altered a gift bag with it.
with wallpaper glue and acrylic paints.
It was a perfect background for my favourite saying in a simple
picture frame.
Rita Marie
This master board was made with my gelli print I made using stencils and acrylic paints, and then I added stamps. I cut pieces to fit some recipe cards I had to make post cards for Happy Mail. I doodled and added gesso and water color crayons. Now I have three pretty postcards to mail out. Lots of Fun! I will have a short tutorial up on my blog for more info on how I made these. Thank you! xo
I decorated the rocking horse with this print & lots of ornaments mod molds!
Shilpa
Hello Everyone, I made this Masterboard with stamping and Distress stain sprays. And here is the project you will see how I've used it.
I've created this mixed media piece. I made pieces of my Masterboard and used as a collage in the background. Come to my blog 'Neon Diary' to check out the details.
Susanne
Hi everyone. I created a lid for a gift package using my Masterboard. I used stamps from Designs by Ryn Tanaka. Visit my blog to check out the details.
I really wanted to play in this one, but about ten days ago my back just went 'pop' and I have been in a lot of pain ever since. Bending and climbing up are just too painful to negotiate my craft room, so sadly have not been able to join in, but luckily for me my team NEVER let me down with there amazing talents.
Thank you Team!
Now over to you talented people. We all look forward to seeing what you can create.
Just for this occasion we will allow cards as your final piece, as long as you show us your Masterboard first, it can then be cut up and used on a card.
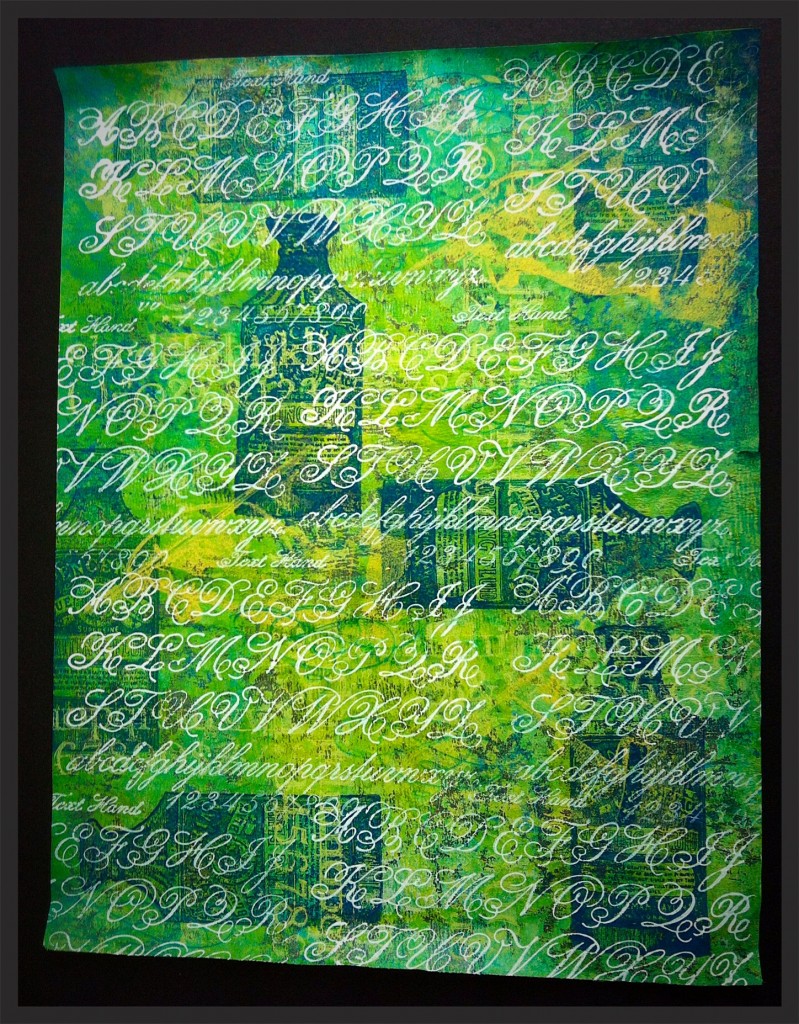
We have had an email entry from Jennifer
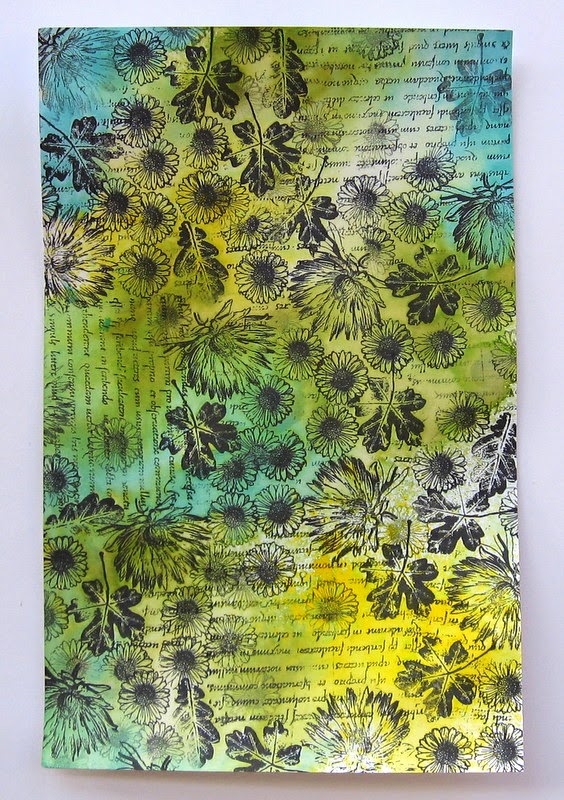
Here is her masterboard






.JPG)


